


Here are the installation steps for an anti-static workbench:
We are sharing the installation steps for an anti-static workbench with you now.


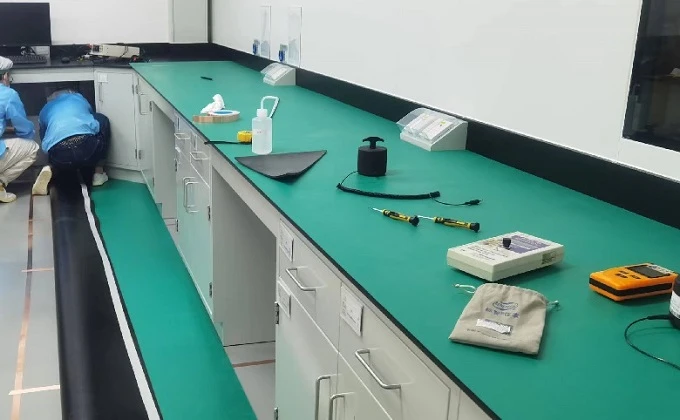
* Determine the required dimensions for the anti-static table mat based on the needs of the ESD workstation. Thoroughly clean the top and bottom surfaces of the mat, as well as all components, using alcohol from an anti-static alcohol dispenser.
* Lay foil tape on the underside of the anti-static table mat; aluminum foil should only overlap at fold points. Install the grounding stud connector (or a suitable alternative fastener) by pressing it through the mat and foil tape to ensure good electrical contact.
* Lay the prepared anti-static table mat flat on the workbench surface. Determine the area for the anti-static floor mat based on the operator's range of movement, and place the workbench onto the anti-static floor mat.
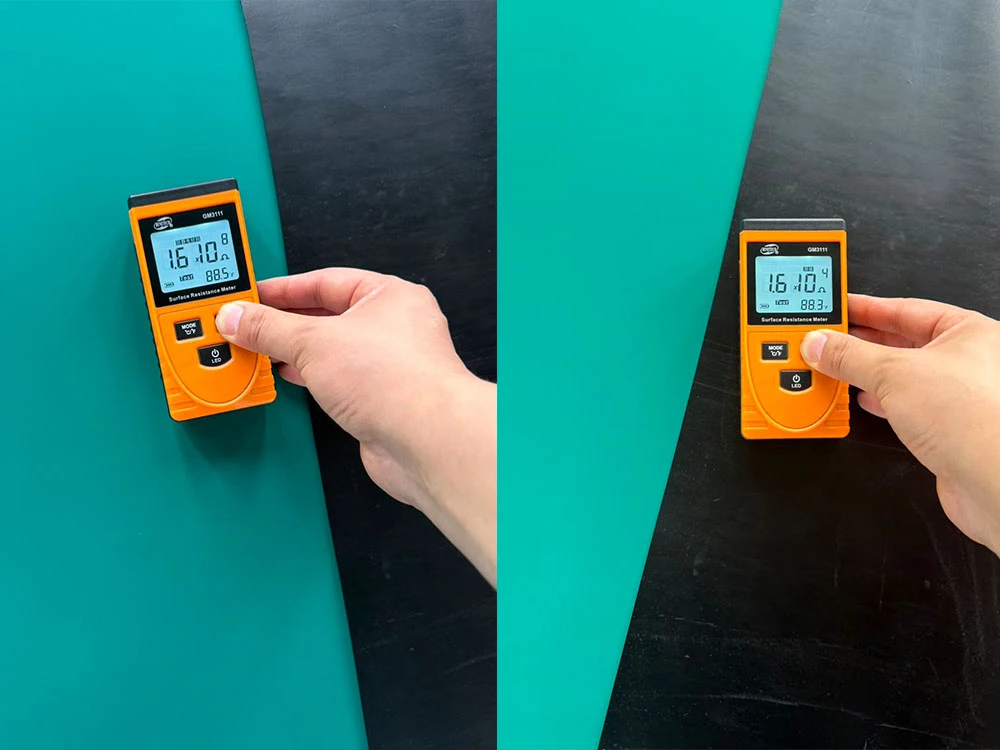
* Ground the anti-static workbench: connect the table mat and floor mat to the grounding system using flexible, multi-stranded copper wire or cable with a cross-sectional area of at least 2 mm², ensuring a 1 MΩ resistor is connected in series for each. It is recommended to inspect the setup before use.