


Detailed explanation of the correct use of the surface resistivity tester
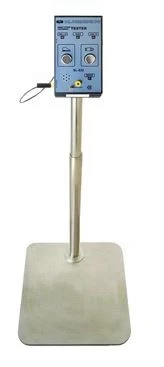
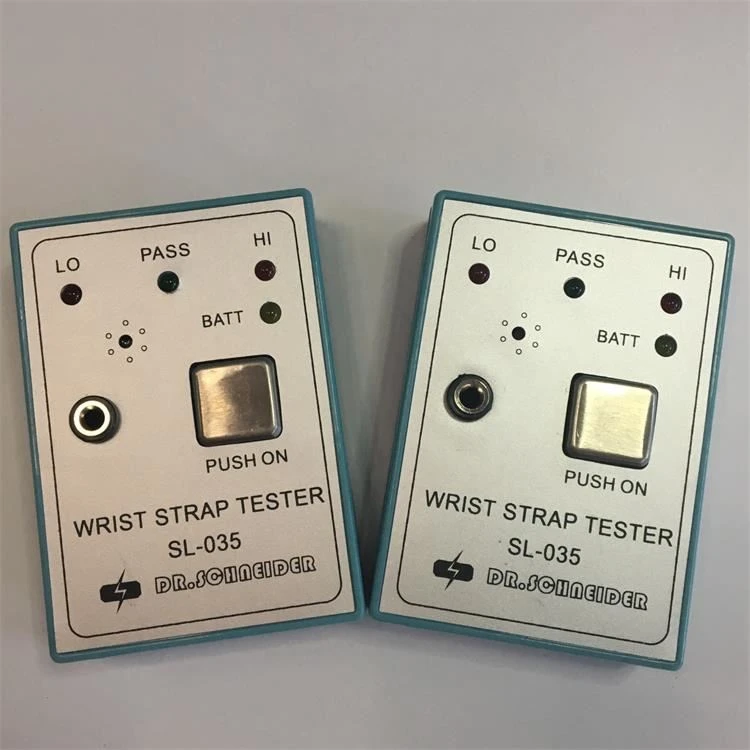
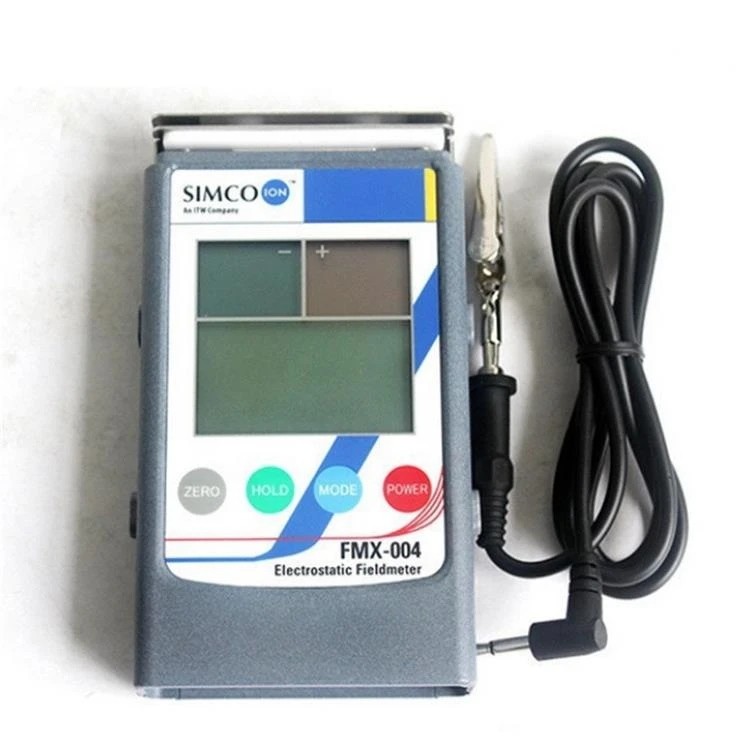

1. Connect the power cord
Ensure that the power supply is 220VAC/50Hz
2. Turn on the power
Set the current resistance range to 104 range and the voltage range to 10V, and then power on.
3. Zero adjustment
When the two ends of "Rx" are open, adjust the zero to make the ammeter display 0000. Note: There is no open circuit at both ends of "Rx". The error. Generally, there is no need to adjust zero again during the test after one zero adjustment. Shut down when finished.
4. Connect the line
Connect the test wire, connect the test wire to the host and the shielding box. When measuring the volume resistance, set the test button to the Rv side, and when measuring the surface resistance, set the test button to the Rs side. Then turn it on.
5. Choose a suitable measuring voltage
The voltage selection switch is on the rear panel. Note that during the test, do not arbitrarily change the measured voltage. The device under test or the test instrument may be damaged due to excessive voltage or excessive current;
6. Test
Gradually pull from the lower position during measurement, and stay for 1 to 2 seconds each time to make the observation display the number. When the measured resistance is greater than the measuring range of the instrument, the resistance meter displays "1", and you should continue to set the instrument to the range at this time At a higher position, the measuring instrument should stop when there is a display value. The current number multiplied by the grade is the measured resistance value. When there is a displayed number, do not dial to a higher level, otherwise the measuring instrument will over-range, the protection circuit inside the machine will start to work, and the measuring accuracy of the instrument will decrease.
7. After the test, pull the resistance current range to "104", and turn off the power after the voltage range is adjusted to 10V.
Turn the range switch back to the 104 "zero adjustment" range position for each measurement to avoid damage to the instrument when the instrument is turned on or the measurement terminal is short-circuited.
8. Measure current and the measurement of ultra-high resistance above 1015Ω. After measuring the current, use Ohm's law to divide the voltage by the current to calculate the resistance, see section 8.5 for details.
9. Volume resistance and surface resistance conversion
During the test, when using the shielded box to convert the volume resistance and surface resistance, the power must be turned off and the gear conversion must be performed, otherwise it will cause voltage shock to the host to be unable to display or damage