


Installation Method for Anti-Static PVC Flooring Tiles
1. **Clean the subfloor and locate the center lines.** First, clear away any debris or dust from the floor surface. Then, use measuring tools to find the center of the room and mark intersecting center lines, ensuring they are perpendicular and bisect the space evenly.
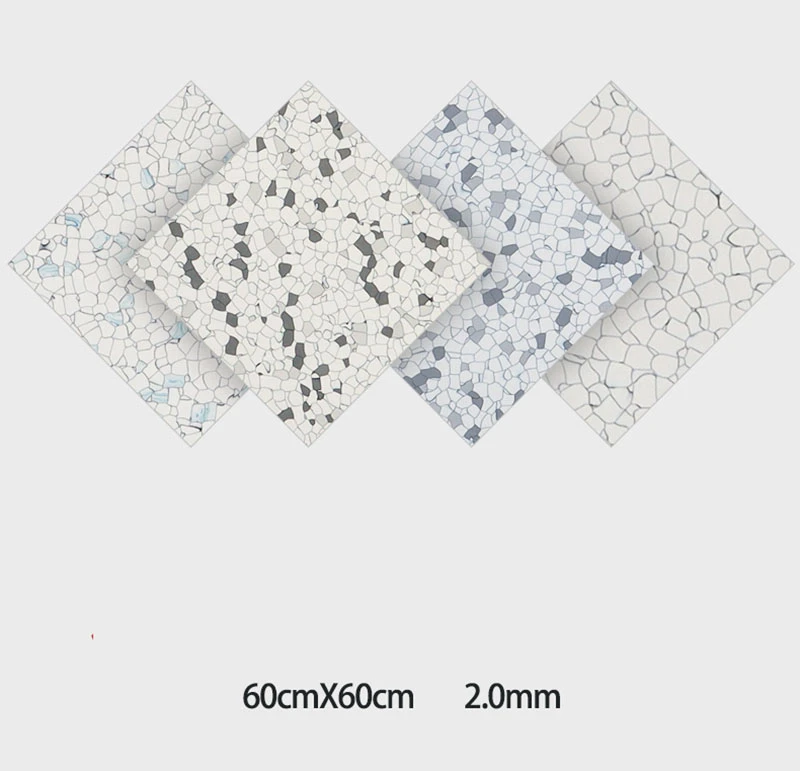
2. **Lay the copper foil (or aluminum foil) grid:** a. Adhere copper foil strips to the floor according to specified dimensions to form a grid; use conductive adhesive at the intersections to ensure electrical continuity between the strips. b. Measure the resistance between adjacent copper foil strips using a megohmmeter; the resistance must be less than 10⁵ Ω. If continuity is lacking, identify the cause and re-apply the foil to ensure proper connection. c. Ensure that the installed copper foil grid is connected to the grounding wire at a minimum of four points per 100 square meters.
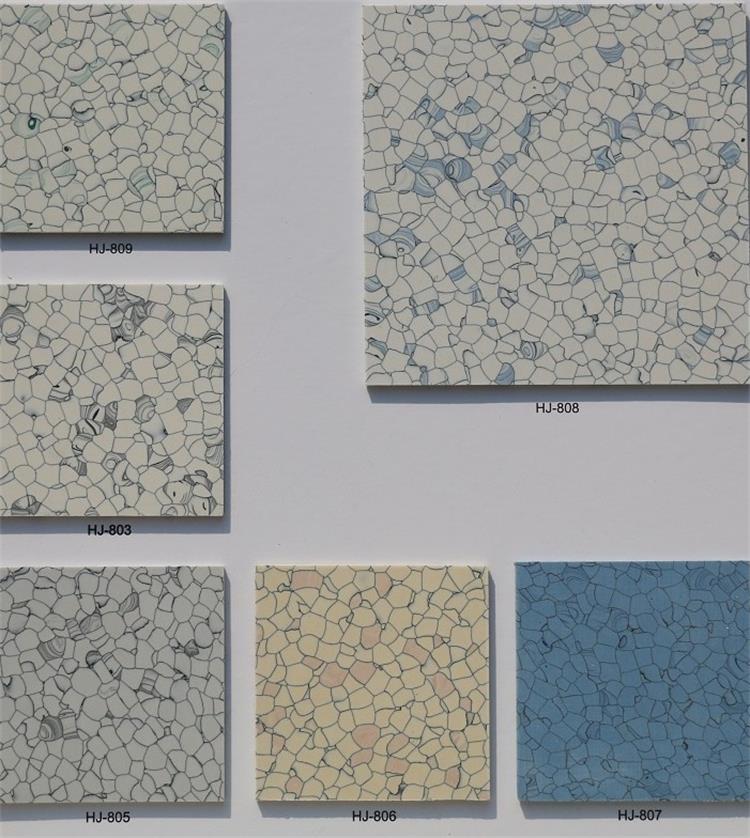
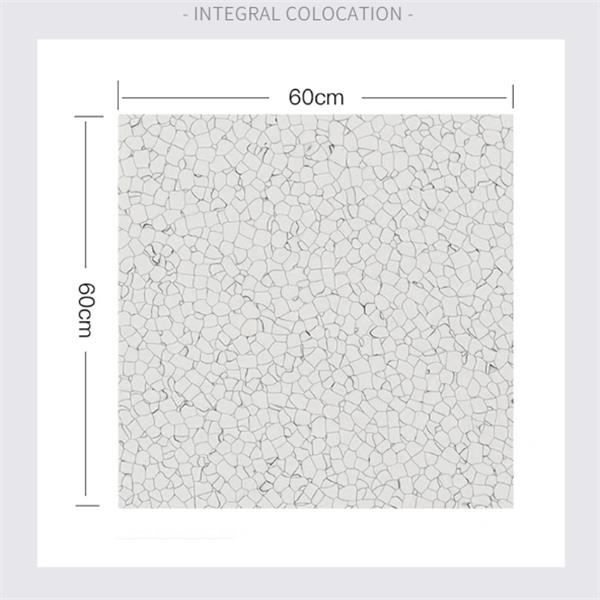
3. **Install the flooring:** a. Use a notched trowel to apply conductive adhesive to a section of the floor. b. Begin laying the flooring when the adhesive reaches a "tacky" state (sticky to the touch but not transferring to the finger). Start from the center and work outwards, tapping each tile with a rubber mallet as it is laid. Maintain a gap of 1.5–2.0 mm between tiles. c. Continue troweling conductive adhesive across the remaining area until the entire floor is covered. d. Ensure that the copper foil grid runs underneath the flooring tiles during installation. e. Use a welding gun to soften the welding rod at high temperature and fill the gaps between the tiles. f. Trim off the excess welding rod material with a utility knife to complete the installation. g. Periodically test for electrical continuity between the floor surface and the copper foil using a megohmmeter during installation; if continuity fails, identify the cause and rectify the placement to ensure the resistance-to-ground for each tile remains between 10⁵ and 10⁸ Ω.